Although Linux NIC Teaming has already been built-in for a long time,Microsoft never exist this function until Windows Server 2012 is released. We can directly use this new function in Windows Server 2012 so that it doesn’t depend on Vendor’s NIC driver or management software and choose the same network card for building NIC teaming. Due to Microsoft did not support NIC teaming for Hyper-V 2.0 network in the pass, sometime there is problem happened by NIC driver or teaming issue if we use it in Hyper-V environment. For stability, we need to give up availability usage in Hyper-V. Now it will be good news that NIC teaming has already been part of the Microsoft Operating System.
How to do NIC Teaming? It is very simple that can study the related knowledge from Microsoft or friendly web site.
If Hyper-V system has already been in production, how to set it but never influence online service?
 To create the first NIC team for Hyper-V External networkMethod I : Combine with multiple network cards to form a NIC Team
At first, confirm Hyper-V Server never exist any VM object
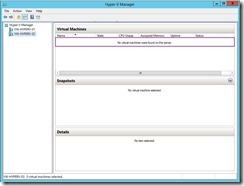
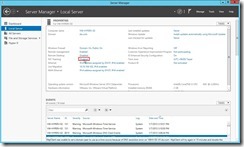
Shutdown/Power Off the standby server as “VW-HYPERV-02” for adding a new network card. When power on it again, we will see a new network card in
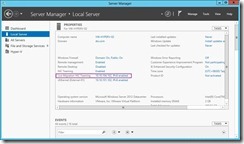
Server Manager/Local Server dashboard.
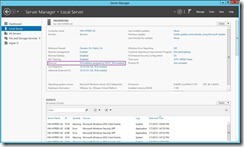
Open
Hyper-V Manager and click
Virtual Switch Manager…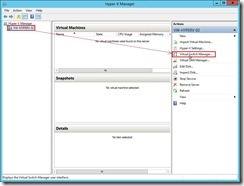
Select the original virtual network switch next to click
Remove button
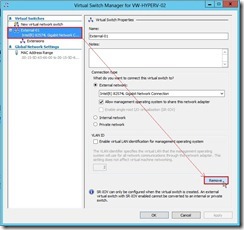
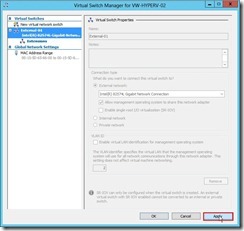
Click
Apply button
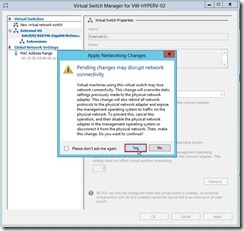
Click
Yes button
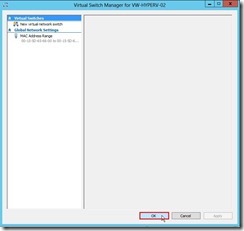
Click
OK button
In next step, we will change static IP setting to DHCP.
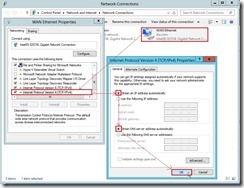
In
Server Manager/Local Server dashboard, click
Disabled link in NIC Teaming field
In
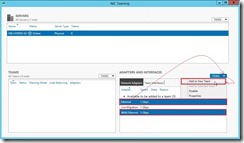
NIC Teaming UI, select the multiple network card that want to build a Team next to click
Add to New Team in TASK.
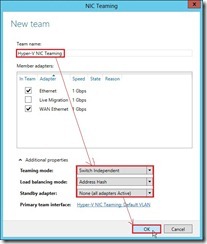
Write down
Team name and select
Additional properties next to click OK button.
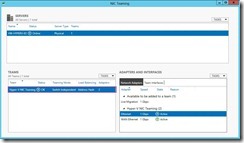
So does that the Hype-v NIC Teaming is created.
In
Network Connections windows, open Hyper-V NIC Teaming Properties and click
Internet Protocol Version 4 (TCP/IPv4) to set the static IP address
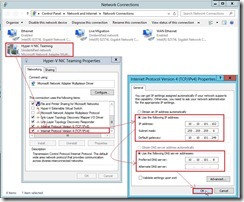
Now the NIC Teaming will be created
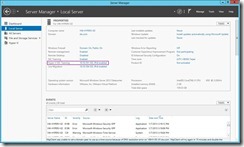
Return to
Hyper-V Manager and click
Hyper-V Settings… link again
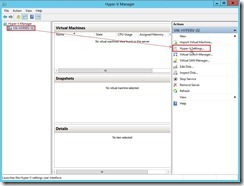
In
Virtual Switch Manager page, select
New virtual network switch and
External next to click
Create Virtual Switch button
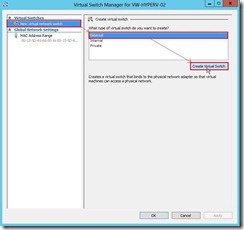
Write down a Name as “External-01”, select
External network option and
Microsoft Network Adapter Multiplexor Driver next to click
Apply button
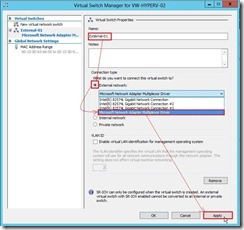
Click
Yes button
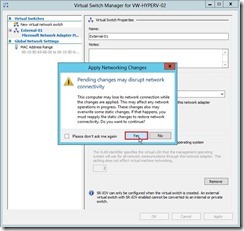
So does that NIC Teaming will integrate with the external network of Hyper-V system now
 To add another NIC Team for Hyper-V Live migration networkMethod II: Add a new network Interface to an existing team
To do the same prerequisite, confirm never exist any VM in this Hyper-V Server
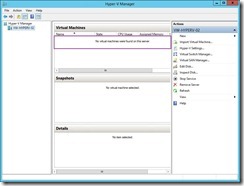
Before change anything…
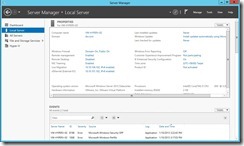
After add a new network card when shutdown & power off this Server…
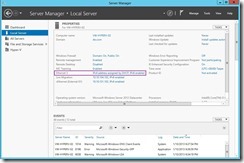
In
Server Manager/Local Server dashboard, click
Enabled link in NIC Teaming field
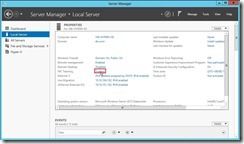
In
NIC Teaming window, select
Network Adapters, choose a new network card, click
Task next to then click
Add to New Team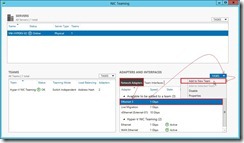
In
New team page, assign a
Team name next to click
OK button
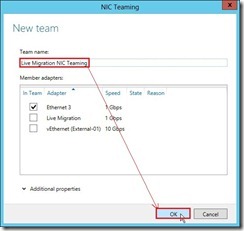
So dose that the second NIC teaming is created now
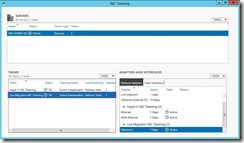
and its IP address will be from DHCP by default.
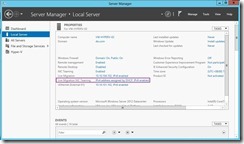
Because our target will be replace this dynamic IP with the original and static IP of Live Migration, we first need to change the Live Migration IP Address from static to dynamic setting.
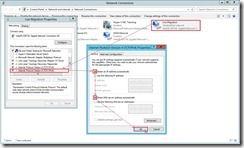
Continuously, the IP address of this NIC teaming will set into the the original and static IP value.
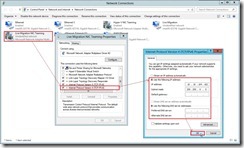
So do that we finish the IP exchange now.
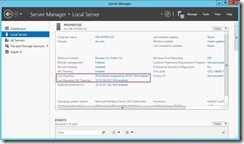
Click
Enabled link again in NIC Teaming field
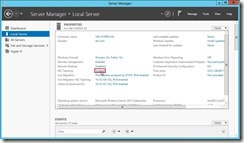
In
NIC Teaming windows, select a team as “Live Migration NIC teaming” in
TEAMS, right-click a network card that want to join the selected team next to click
Add to Team “Live Migration NIC teaming”
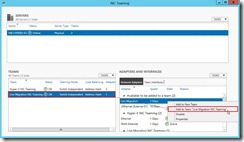
Finally, this network card has already been this membership of NIC teaming.
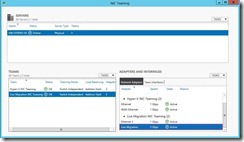
We also finish adding a NIC Teaming by the second Method.
I believe maybe there is more and more methods about adding the new NIC teaming or someone think the above steps is complex. But I know the Hyper-V function as network access or live migration is normal after follow the above methods to create NIC teaming.
Reference:
(# 1) Windows Server 2012 NIC Teaming (LBFO) Deployment and Management
(# 2) NIC Teaming in Windows Server 2012 - Do I Need to Configure My Switch?
<<<
Live Migration without Shared Storage on Non-Clustered Virtual Machines (part 1)
 Open Hyper-V Manager and click one Hyper-V Server that will locate his VM next to click Import Virtual Machine link
 In Before You Begin page, click Next > button
 In Locate Folder page, click Browse… button
 Click Next > button to go ahead next step if the folder containing the VM is right
 In Select Virtual Machine page, select the VM that will be imported next to click Next > button
 Due to the VM and its files have already been in the right place, we will choose Register option that just want to register VM’s unique ID with Hyper-V. After choosing the import type, click Next > button to go ahead the next step.
 So do that we will complete the Import Wizard.
 Now the imported VM will exist in this Hyper-V Server.
 Next to click Connect … link
 The imported VM will be live and normal now.


