網頁

2017年3月13日 星期一

JMeter 3.1 --- how to install JMeter 3.1 with OpenJDK on Ubuntu/Lubuntu 16.10

JAVA is necessary to run certain applications in Linux and windows machine. JAVA comes with two packages (JDK & JRE). JDK stands for (Java Development Kit) which helps developers for developing, debugging, and monitoring Java applications.

JRE stands for (Java Runtime Environment) which deploys Java applications on servers.It includes tools for JVM monitoring and tools commonly required for server applications. Many of us needed only JRE, so make sure you have installed JRE not for JDE.

In this article i’m going to explain how to install OpenJDK in Linux such as Ubuntu based systems.

1) Search OpenJDK Packages
Use the below commands to search available java version on your distribution to install further.

2) Install JAVA (OpenJDK)
We have found the list of available JAVA version on Linux distribution in above step. Use the following commands to install required java (OpenJDK/JRE) version on your system through the package manager.
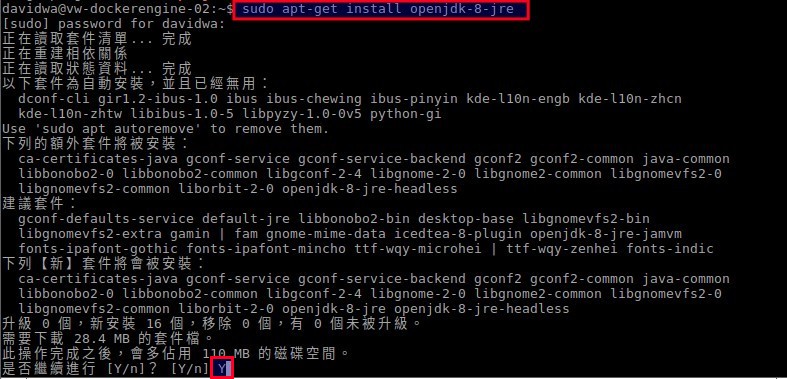
Install JRE - Java Runtime Environment

Install JDK - Java Development Kit


3) Verify JAVA (OpenJDK) Version
After successful installation of Java, use the following command to verify the installed version of JAVA on your systems.

4) Setup JAVA Environment Variables
We should Setup JAVA Environment Variables for java because all the java based application uses environment variables to work. Open your .bashrc file and add the below lines to end of the file. Make sure you need to mention your path instead of us, then Save and exit.

After saving .bashrc file, run the following command to make it work.
Now, check the environment value using below commands. Its clearly fetch the path of jdk and jre home.

5) Download Latest Apache JMeter Binaries
We will download the latest version of JMeter from http://jmeter.apache.org/download_jmeter.cgi

6) Extract JMeter Archive into /tmp
$ tar xvzf ~/Downloads/apache-jmeter*.tgz -C /tmp/

7) Installing JMeter
$ sudo mv /tmp/apache-jmeter* /opt/apache-jmeter
$ sudo ln -s /opt/apache-jmeter/bin/jmeter /usr/local/bin/jmeter

8) Launching JMeter
$ sudo jmeter
Finally, the JMeter software will appear on the screen.

LoadRunner 12.53 --- How to Configure Client-Server Authentication

In LoadRunner 12.00 or later, it introduced a complete security solution based on an industry standard SSL/TLS library (OpenSSL), which includes both data encryption and authentication.
When we do the HP LoadRunner Setup process, we need to setup or configure a certificate for client-server authentication.
If we have a valid existing CA or certificate file, we can directly choose it. If no, we have to create a certificate authority(CA) and an SSL digital certificate next to install it.

How to do it ? By using the LoadRunner Certificate Manager is simple.

1. Run the Certificate Manager from < LoadRunner installation folder >\bin\LRcertificateMngr.exe

2. If we have not previously created certificates with this application, it displays the default LoadRunner certificates

3. In the Certificate Manager, click Change.

4. Click New for creating a new CA certificate

5. Enter the required values in the Create New CA Certificate screen. When finished, click Create.


6. Click Next and continue following the on-screen instructions to create a corresponding SSL certificate


7. Click New for creating a new SSL certificate.

8. Enter the required values in the Create New CA Certificate screen. When finished, click Create

9. When Finish, it will installs the SSL certificate and corresponding CA certificate on the current LoadRunner machine.

So do that we can go ahead next install steps.

Reference:
(#1). To install this CA certificate on other LoadRunner computers, click Export to save the generated certificate.

Then install it on other LoadRunner computers using the gen_ca_cert command with a -install option as  < LoadRunner installation folder >\bin\gen_ca_cert  -install < name of CA certificate file >

(#2). To install this SSL certificate on other LoadRunner computers, click Export to save the generated certificate.
Then install it on other LoadRunner computers using the gen_cert command with the -install option as < LoadRunner installation folder >\bin\gen_cert  -install < name of SSL certificate file >
Since 2010 Design by Davidwa
©Copyright Davidwa Inc. All rights reserved.