If the network function is normal, we can execute the yum install perl command to install it from Internet repository.

Or we can install it from local CDROM so that need to mount the CDROM media at first.
 Then use the yum --disablerepo=\* --enablerepo=c7-media install perl command
Although we can execute the vmware tools and no any error message as before, another question will show up that tell us the ifconfig command not found.
Next action? We will do another choice to install Open VM tools in CentOS 7 guest.
According to “Guest Operating System Installation Guide”, VMware recommends using the Open VM Tools redistributed by the operating system vendors.
Why?
Open VM Tools is the open source implementation of VMware Tools and consist of a suite of virtualization utilities that improves the functionality, administration, and management of virtual machines on VMware hypervisors.
How to do it?
Install open-vm-tools package (# 1)
Install open source vmware tools by using the yum install open-vm-tools command

Install open-vm-tools-deploypkg plug-in package (# 2)
Due to this VM will make as a template, we will install the deployPkg Tools plug-in.
At first, we will download all the VMware Public Packaging Public Keys from the http://packages.vmware.com/tools/keys directory by using the wget http://packages.vmware.com/tools/keys/VMWARE-PACKAGING-GPG-RSA-KEY.pub command.
 next to import the VMware packaging public keys by using the rpm --import VMWARE-PACKAGING-GPG-RSA-KEY.pub command
we will create a repository configuration file as vmware-tools.repo in /etc/yum.repos.d/ directory with the following content.
Install deployPkg Tools plug-in by using the sudo yum install open-vm-tools-deploypkg command

Reference
(# 1) VMware support of open-vm-tools (2073803)
(# 2) Installing the deployPkg plug-in in a Linux virtual machine (2075048)
(# 3) We cannot install Open VM Tools and VMware Tools on the same Guest VM as follows.


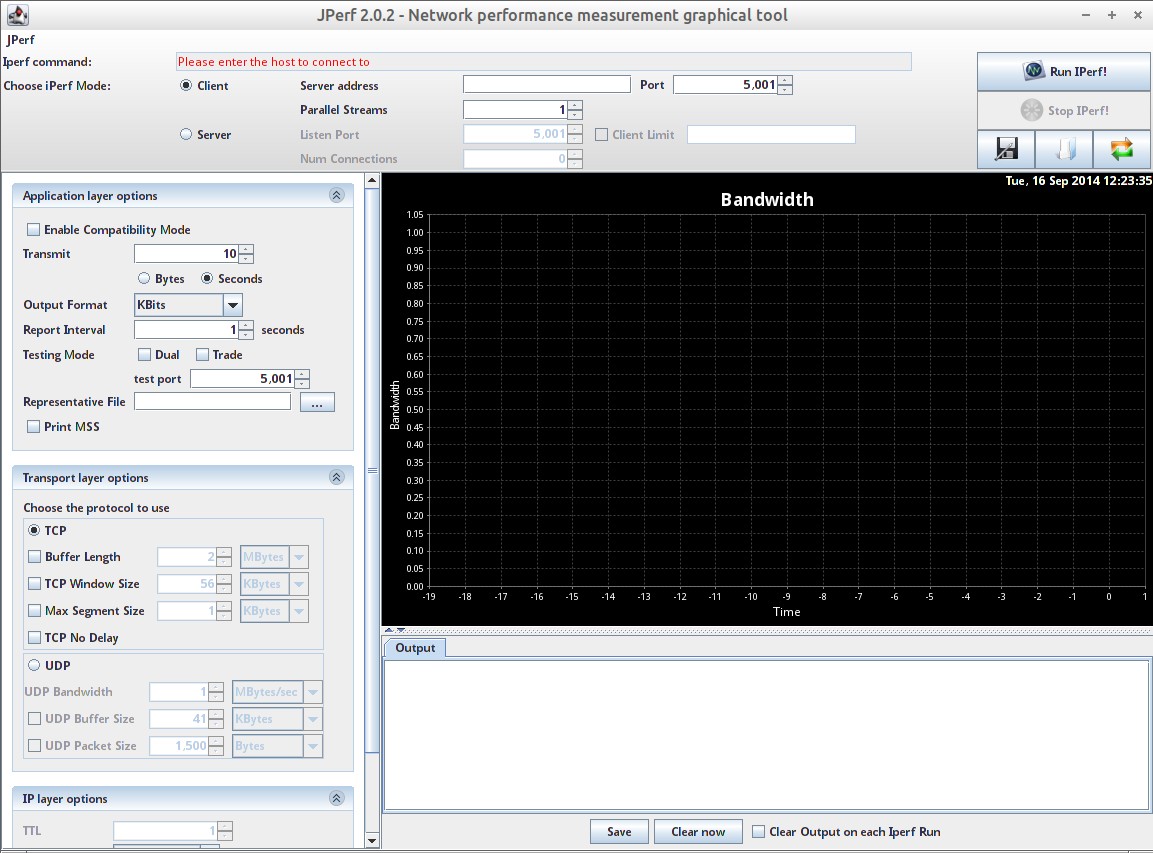


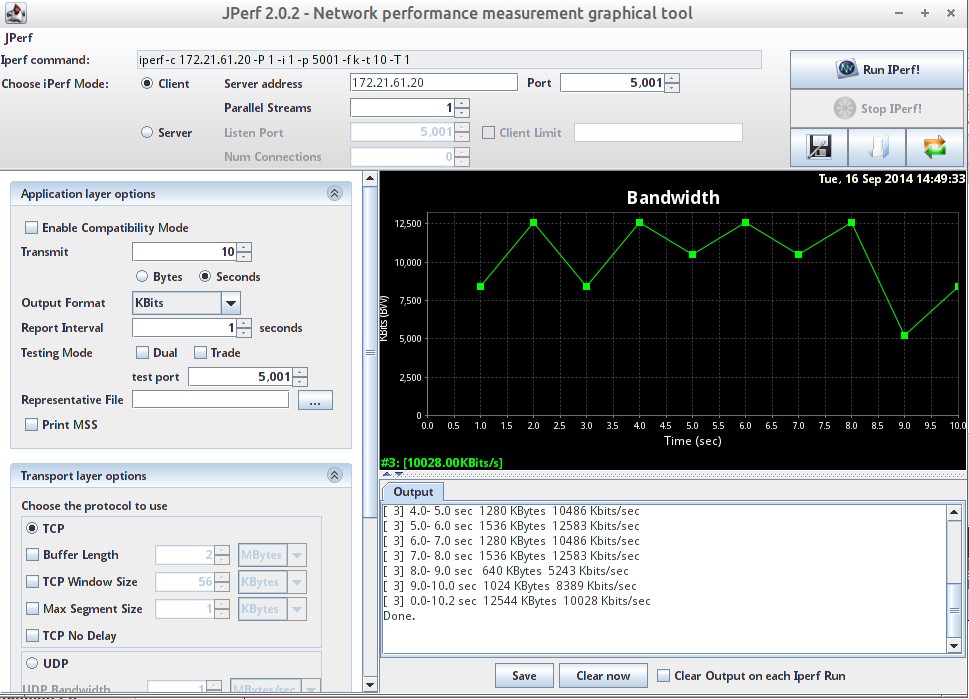
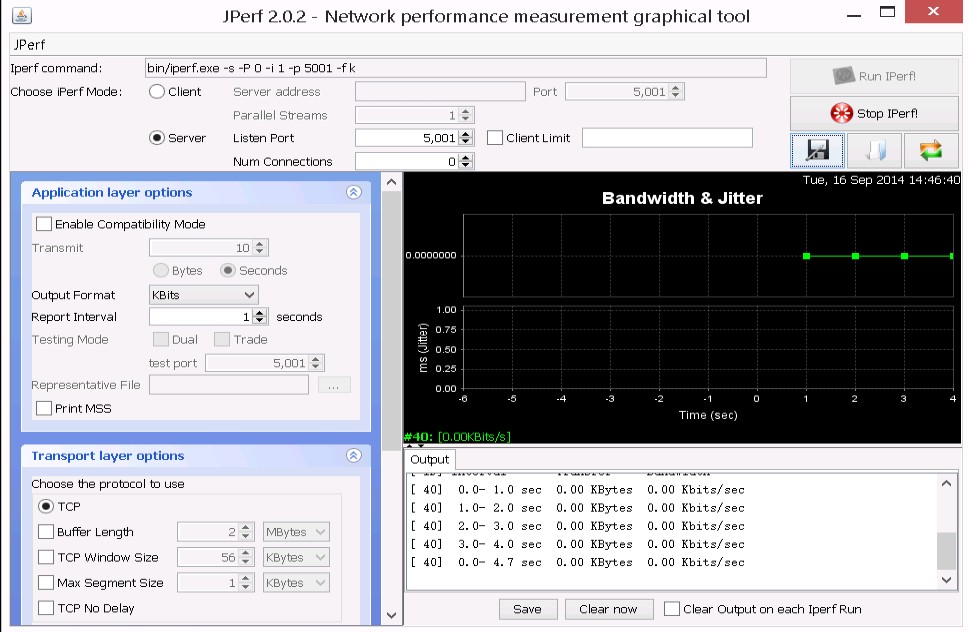 Jperft Client
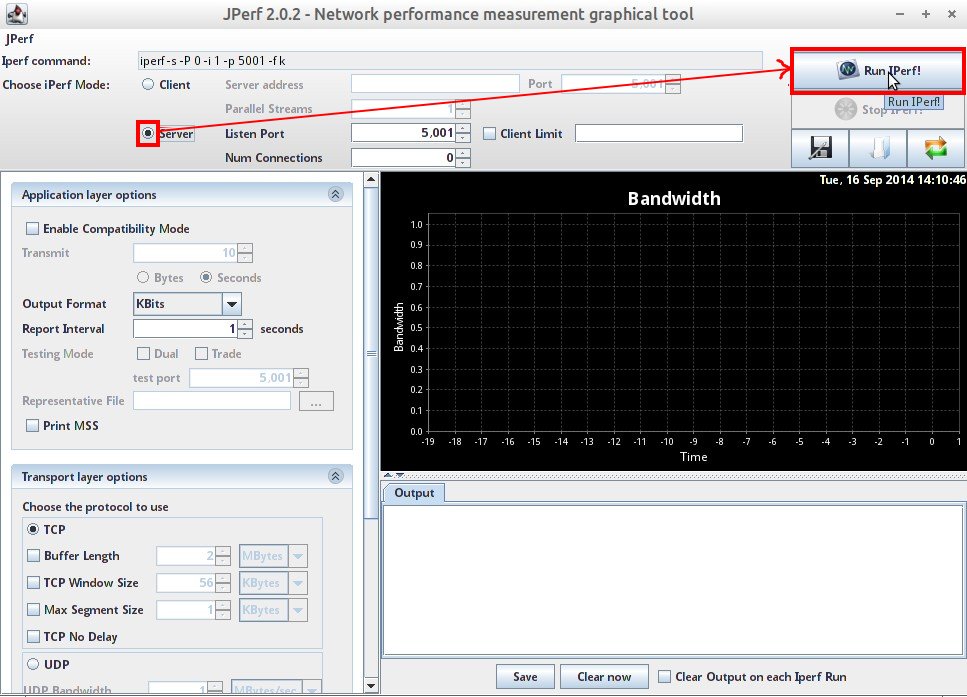