When we install Exchange 2010 on a computer, it will automatically install a default self-signed certificate for communicating between Exchange Servers. Due to this certificate never is created or signed by a trusted Root CA, it cannot use in any clients in the organization.
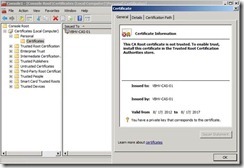
The Exchange self-signed certificate will have Subject Alternative Name (SANs) that correspond to the name of the Exchange server as the server name and the server’s fully qualified domain name.
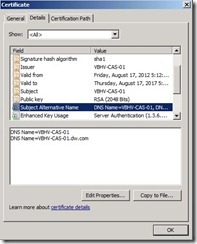
If we want to use the self-signed certificate, administrator need to do extra steps that let clients trust these certificate. In the moment, we will do a easy solution that get a certificate from an internal CA ---- Microsoft Activity Directory Certificate Services.
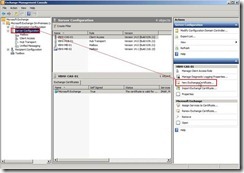
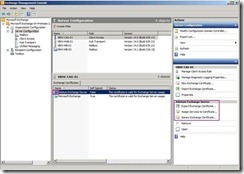
How to request and enable certificate on CAS?Run the New Exchange Certificate WizardIn EMC, click on the
Server Configuration node next to click on the
New Exchange Certificate… in the Actions pane. The New Exchange Certificate wizard will be launched.
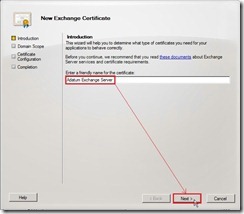
On the Introduction page , provide a friendly name as “
Adatum Exchange Server” for the certificate next to click
Next > button
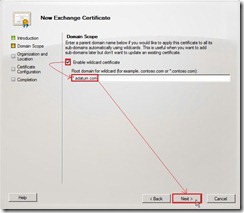
On the Domain Scope page, mark
Enable wildcard certificate check box and then enter
Root domain for wildcard as "
*.adatum.com” or “
adatum.com” due to we want to apply this certificate to all subdomains using wildcards. That is this option allows you to add subdomains without having to update an existing certificate in the future. (# 1)
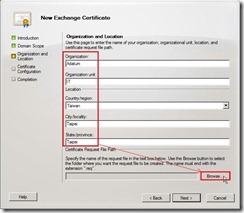
On the Organization and Location page, provide the related information next to click
Browse… button for selecting Certificate Request File Path.
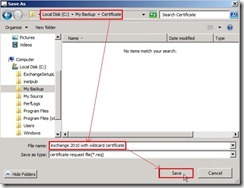
Select a path, provide file name with extension “.
req” and then save it
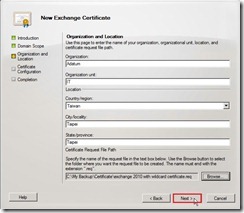
Click
Next > button after the request file name is specifically created and selected.
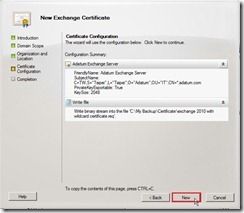
On the Certificate Configuration page, click
New button to continue the process if Configuration Summary is true.
Click
Finish button to close this wizard and continuously follow the step 1 to get the certificate issued from a CA.
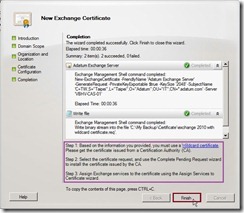
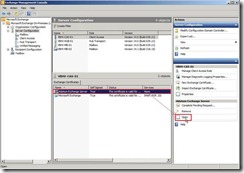
In the moment, a pending request certificate will be created. (# 2)
 Submit the resulting certificate request file to Root CA
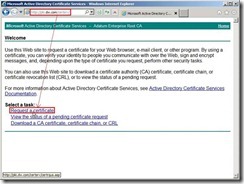
In I.E. or other Browsers, go to the URL of the internal Certificate Server as
http://pki.dw.com/certsrv/ and login in by authenticated user next to click
Request a certificate in this Web site.
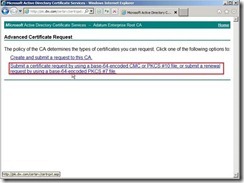
In the Request a Certificate page, click
advanced certificate request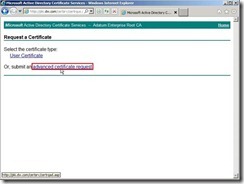
Click
Submit a certificate request by using a base-64-encoded CMC or PKCS #10 file, or submit a renewal request by using a base-64-encoded PKCS #7 file because we have already generated the request on the Exchange Server 2010.
In the moment, please open the request file we generated earlier
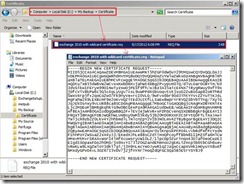
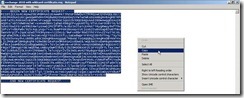
Select all content next to click
Copy in menu
Paste it into the Base-64 encoded certificate request field
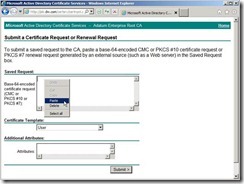
The result is as follows the diagram.
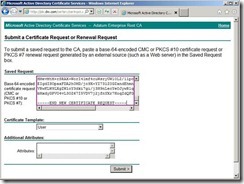
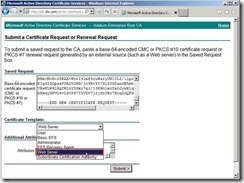
Set the certificate template to Web Server
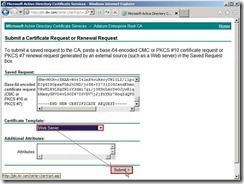
Click
Submit > button to generate the request
Select
DER encoded next to click
Download certificate to save this file to one path
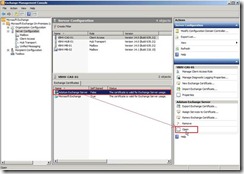
 Completing a pending certificate request
In EMC, click on the
Server Configuration node, navigate to
Server Management to choose one server that we want to import a certificate, select the new certificate next to click on the
Complete Pending Request… in the Actions pane.
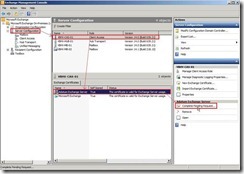
Click
Browse… button
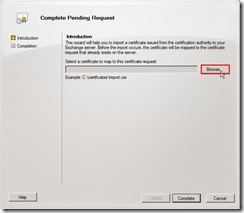
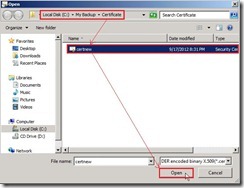
Select the certificate file that is downloaded earlier.
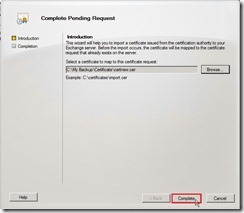
Click
Complete button to import a certificate to the Exchange server
Click Finish button to close this wizard
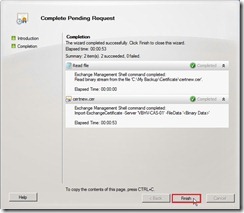
So does that will complete a pending certificate request (# 3) and is ready to be assigned to Exchange service.
 Reference
:
(# 1) Please take care the following scenarios:
- Wildcard certificates can’t be used in conjunction with OCS 2007 as secure communications for UM/OWA integration
- Wildcard certificates are not supported for older mobile devices such as Windows Mobile 5.0
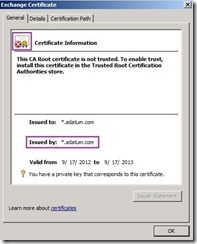
(# 2) When we select and open this request certificate,
the certificate information tell us this CA Root certificate is not trusted and
issued by point to itself.
(# 3) When we select and open this request certificate again,
In
General tab, the information
issued by has already been changed to Root CA
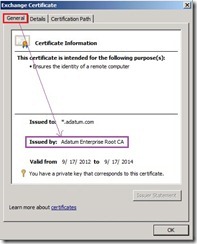
In
Certification Path tab, its chain in top level also link to Root CA.


 In L3SW2, enter global configuration mode to enable routing on the switch by using the ip routing command
 and also create VLAN 30 and 40 in the switch database
 create trunk port in L3SW2 f1/1
 For VLAN 30, we will configure a Switch Vlan Interface (SVI) with IP address 192.168.101.1 so that host DW-HYPERV-01 connected on VLAN 30 will use it as default gateway.
 For VLAN 40, we will configure a Switch Vlan Interface (SVI) with IP address 192.168.102.1 so that host DW-HYPERV-02 or DW-HYPERV-03 connected on VLAN 40 will use it as default gateway.
 Don’t forget saving the entries in the configuration file before left privilege command by the “copy running-config startup-config” or “write” command (#1)
 or
or 
 We can realize switch port, trunk and ip route status by the following command
 Don’t forget saving running configuration file before left privilege command by the “copy running-config startup-config” or “write”
 or
or
 We also can display the ARP information by using the show arp command in EXEC mode of the L3SW2


